Getting Down to Business
Add Our Printer to the Print Center
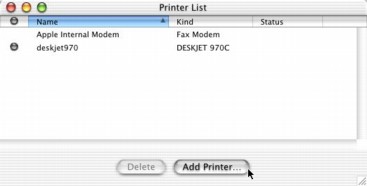
In Mac OS X, open the Print Center application. If Print Center doesn’t automatically offer to add a printer for you, choose the Add Printer… button.
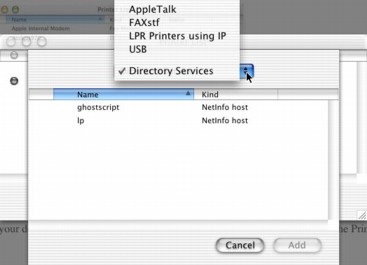
In the pop-up menu that allows you to select the class of printer (i.e., AppleTalk, USB, LPR Printers using IP, and Directory Services), select Directory Services. You should see listed the ghostscript printer. If you setup for TCP/IP printing, you’ll additionally see the printer lp. These are the printers we defined in NetInfo Manager.
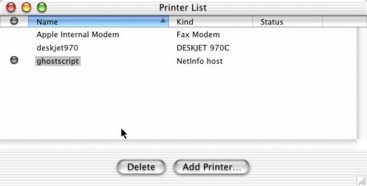
Add the ghostscript printer, and wait for Print Center to add it. If Print Center gives you the spinning beach ball and you have to force-quit, it probably means you made an error in the NetInfo Manager. You’ll have to fix the problems there, restart the computer, then add the printer to the Print Center again.
Once ghostscript is set as your default printer, you’re all set; there’s no reason you need to add lp to the Print Center.